2024 - Stanford University
The “A” Chair
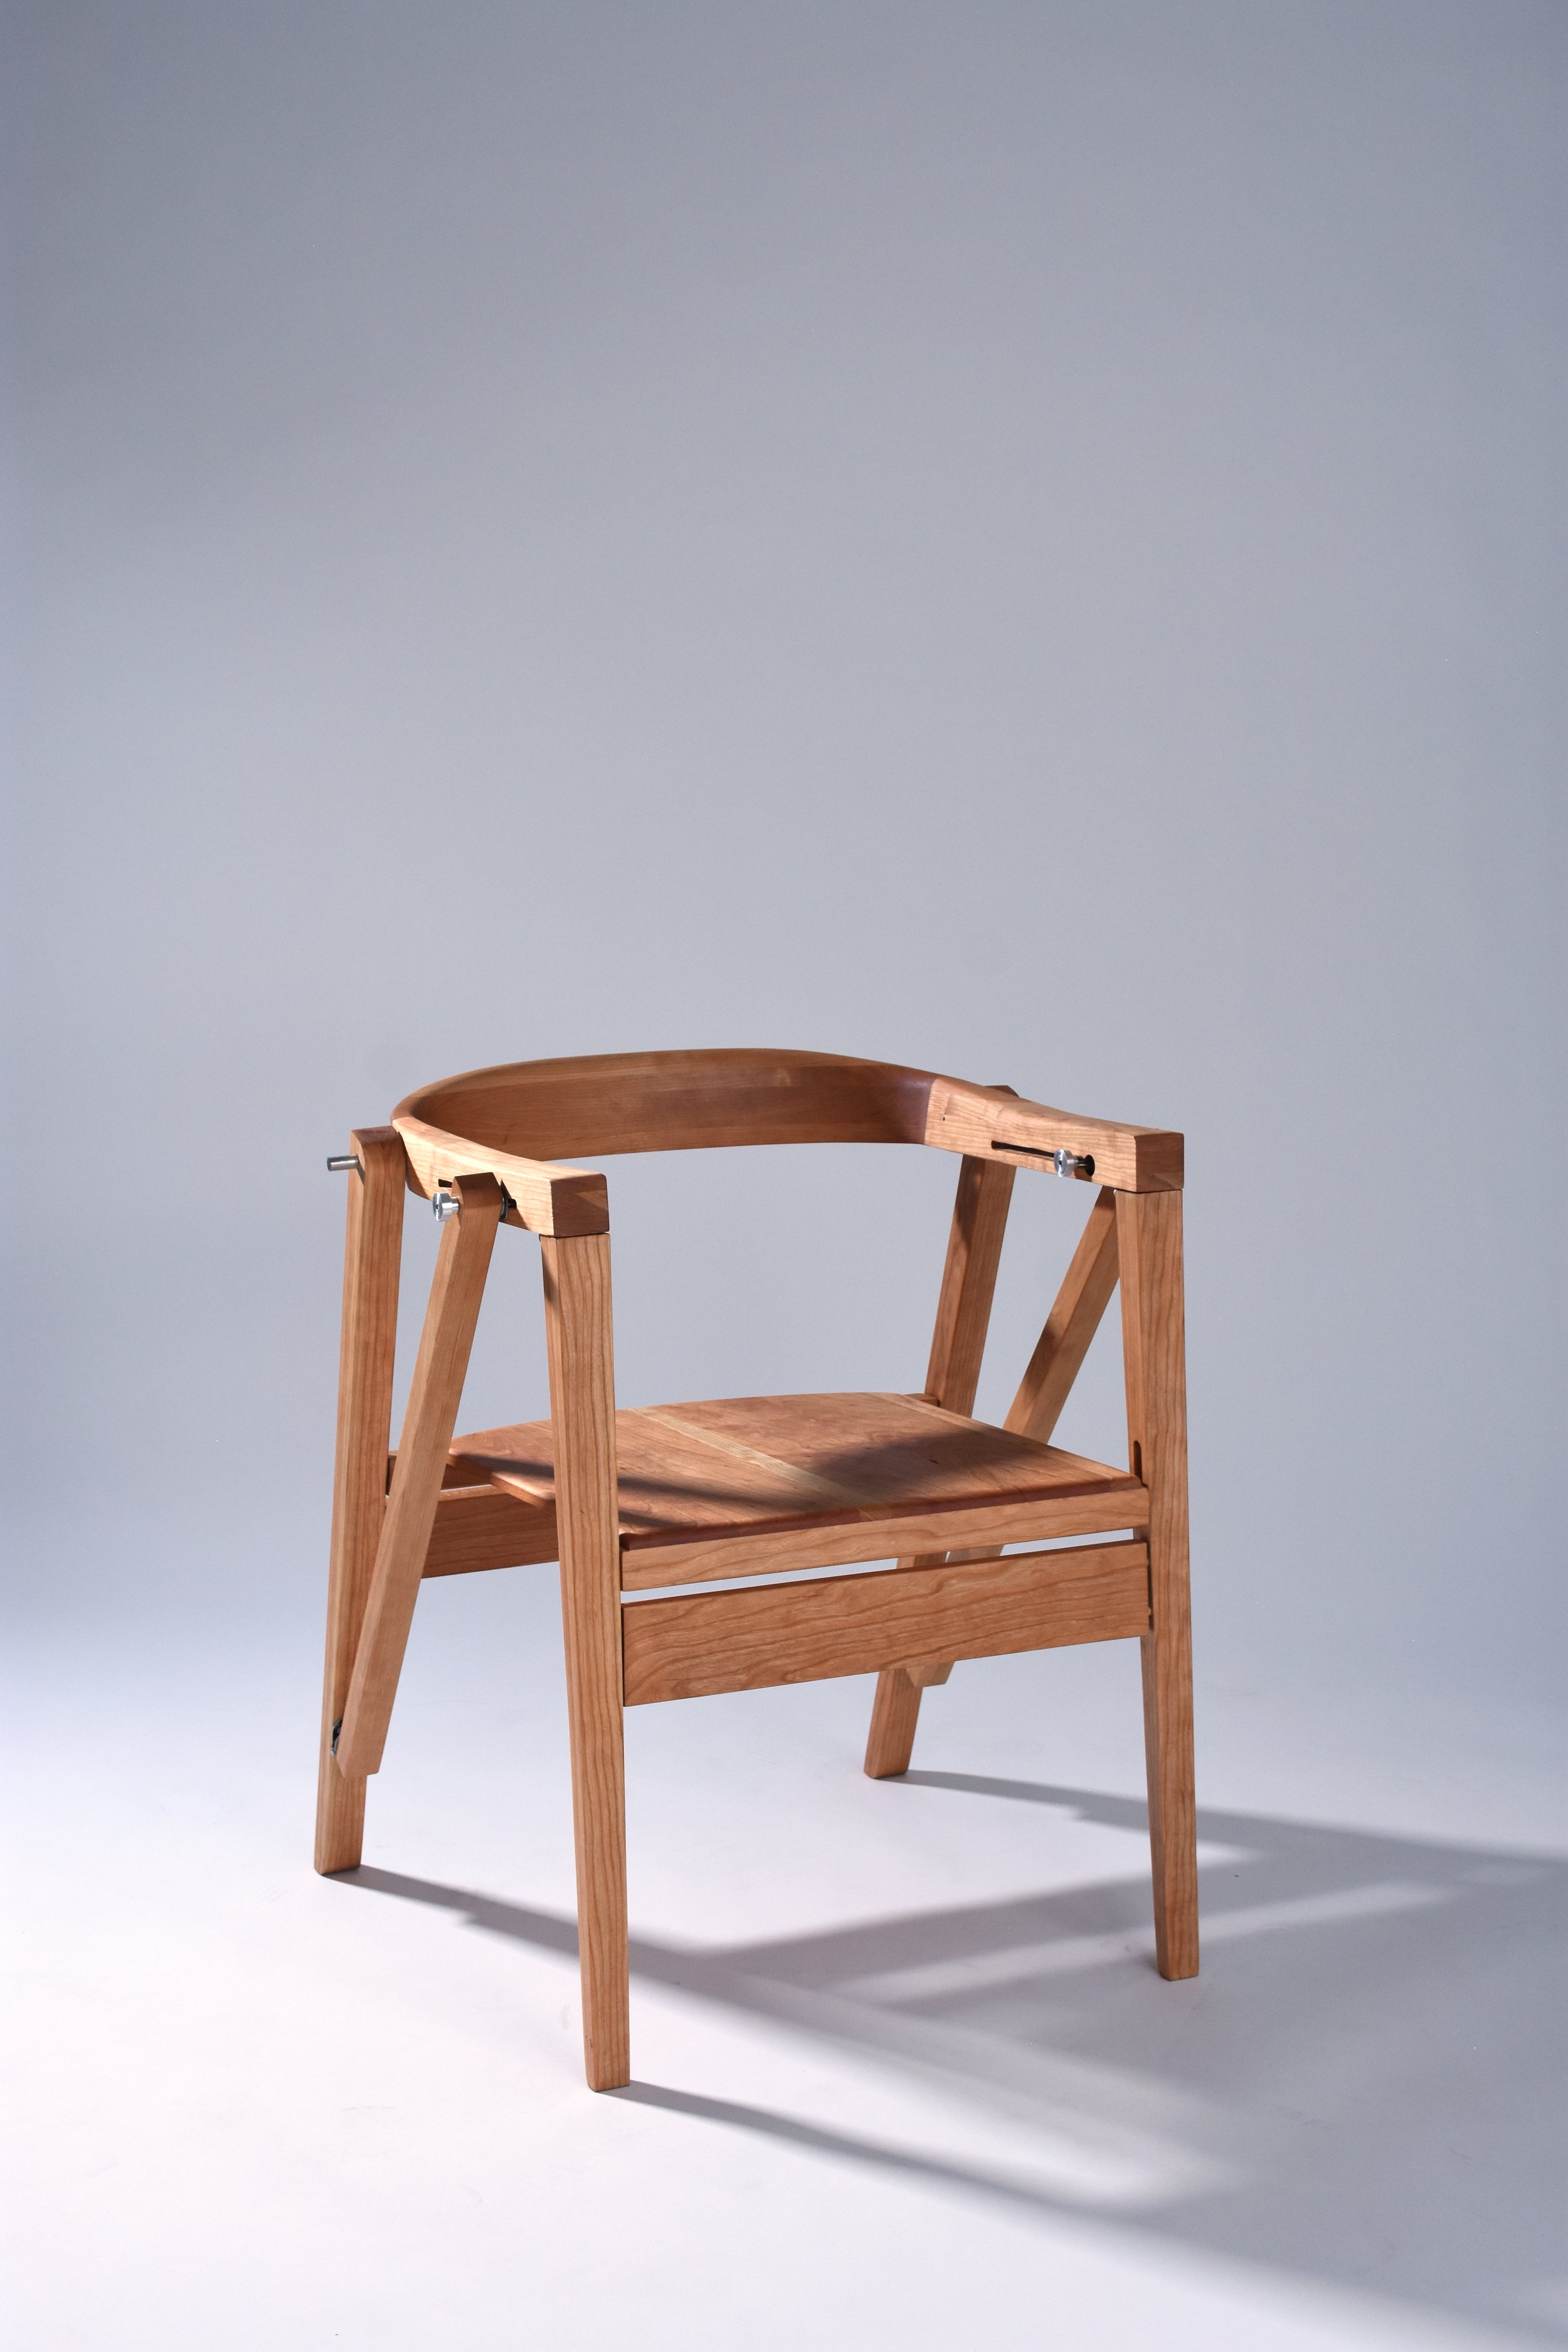
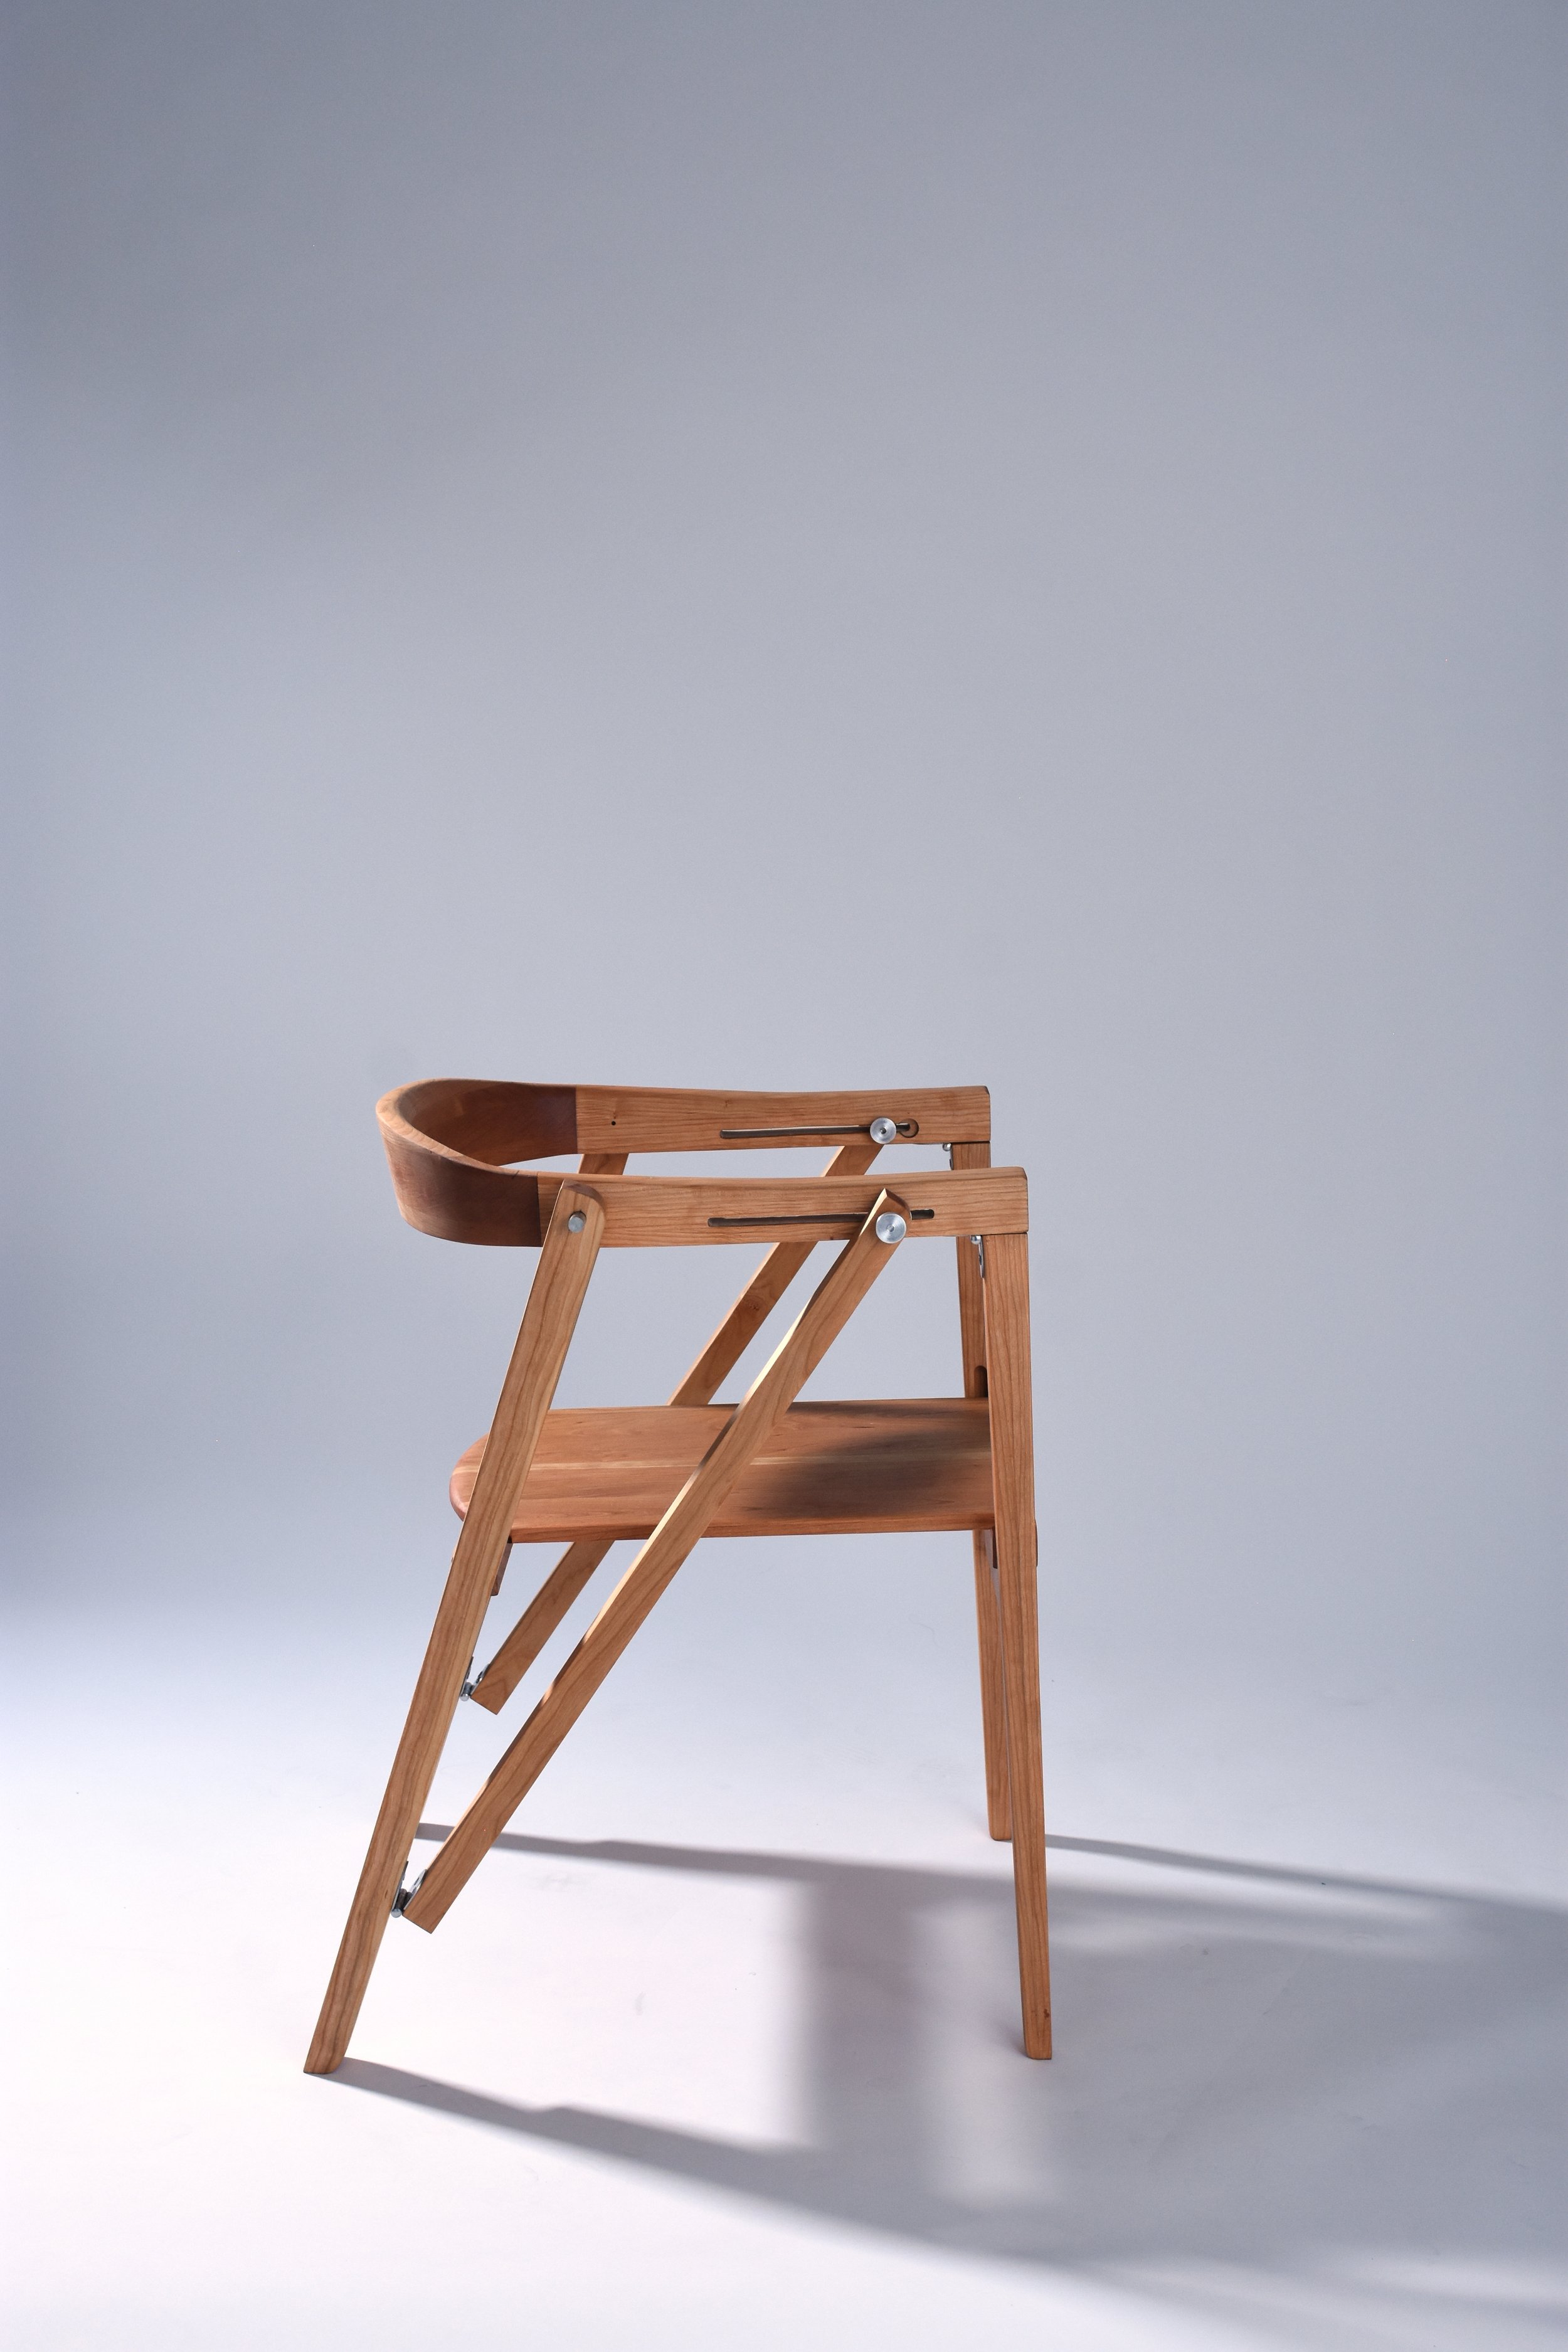
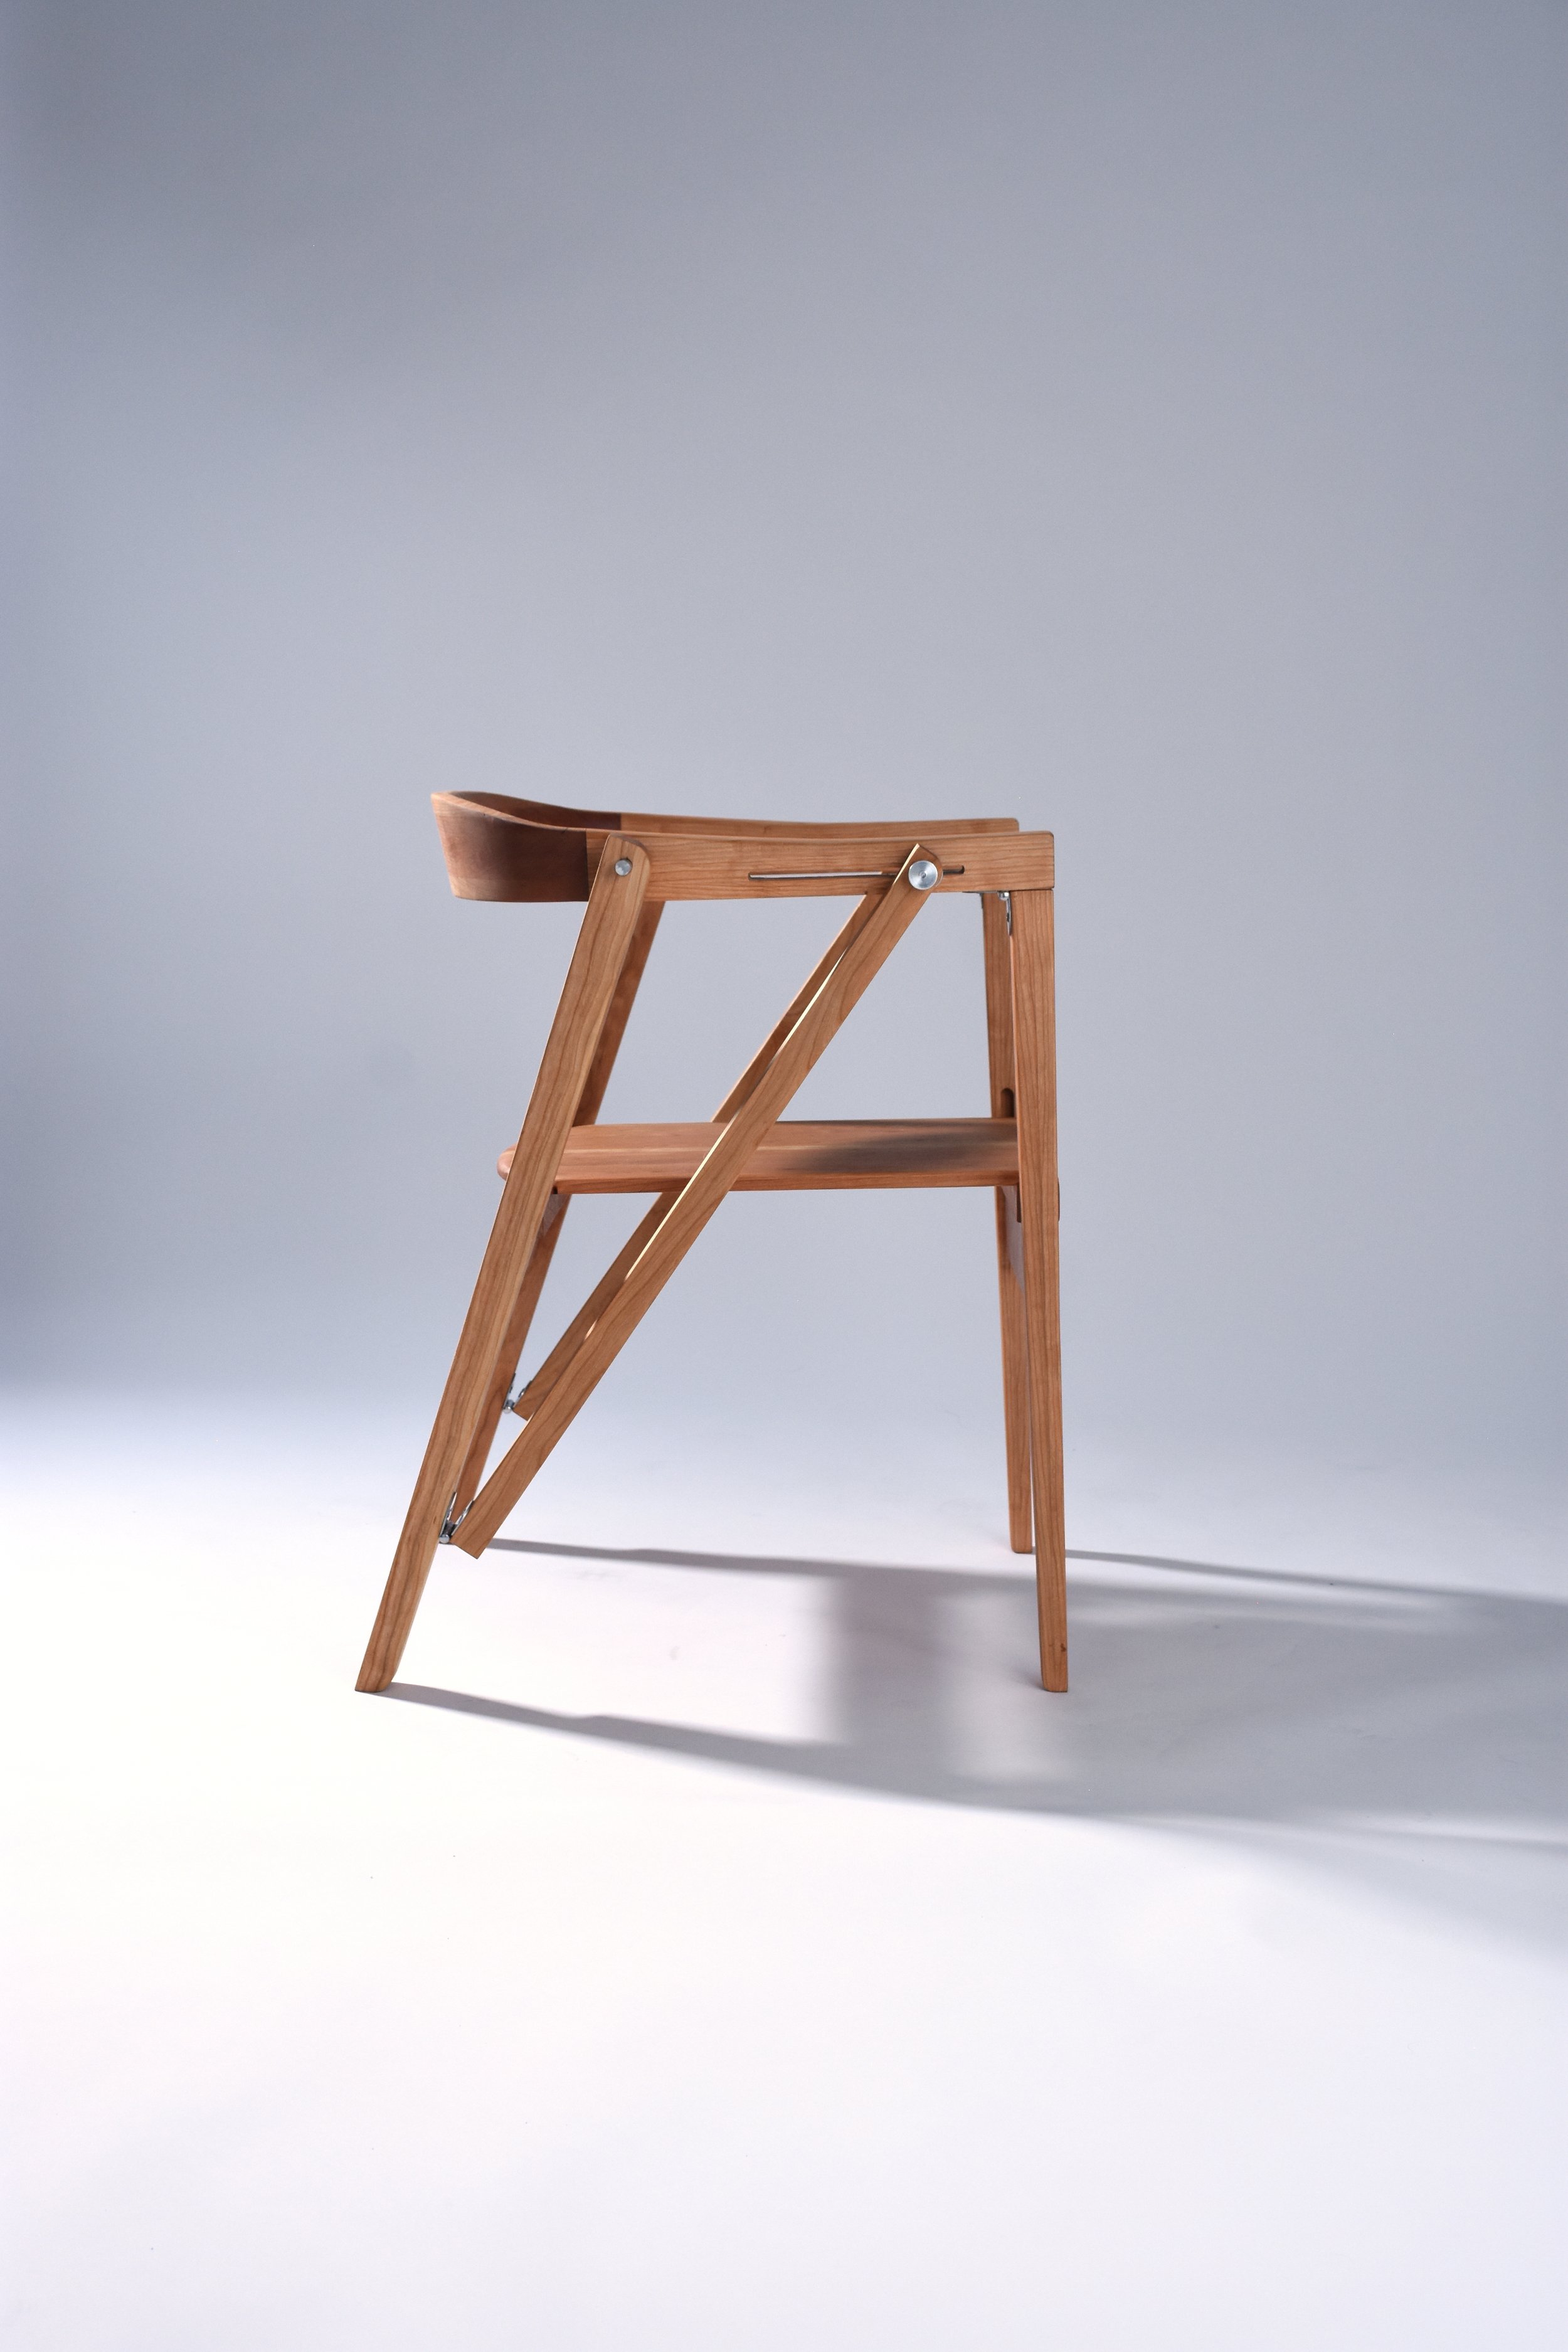
The “A” chair explores the interplay between the organic curves and clean, dynamic line motifs that pervade neo-futurist, futurist, and mid-century modern design and architectural styles. How do these elements come together to create functional lounge seating with a striking profile?
MATERIALS
cherry with stainless steel hardware
THE CHALLENGE
Design and build a folding chair
ME263 - The Chair
Budget
Timeframe
$400
10 Weeks
Collapsed Size
Folding Time
3 cubic ft., 30lbs
< 1 minute
Exploring strong profiles with loose curves
Roughing out features and motifs
Conceptualization
I was initially drawn to chair profiles with dynamic, gestural curves that played on expectations of what forms wooden structures could occupy.
Small Scale Rapid Prototyping
Laser cut and 3D printed prototypes helped me understand the joints, mechanics, dynamics and structural integrity of certain designs. It also allowed me to explore the appeal of different profiles
Modeling
Prototypes and models were proportional in ways that my drawings were not. They revealed areas where the initial sketched curvature felt heavy handed, and areas where the sleek subtleties in details like the tapers could shine.
Quick and Dirty Prototypes
Building out these prototypes helped me refine a manufacturing sequence of operations that identified best part fixturing practices, and steps that would help me get more aesthetic and symmetric carved finishes.
Roughing out dimensions and proportions with multiple participants
Full scale prototype — hand carved poplar backrest, and routed plywood legs and seat.
Testing out comfort pain points and probing multiple failed “locking” solutions to racking issues that tended to collapse the chair forward.
Manufacturing Process

Gluing up hand-routed members to form the back rest lighted the hand carving workload in post, and resulted in a cleaner finish.
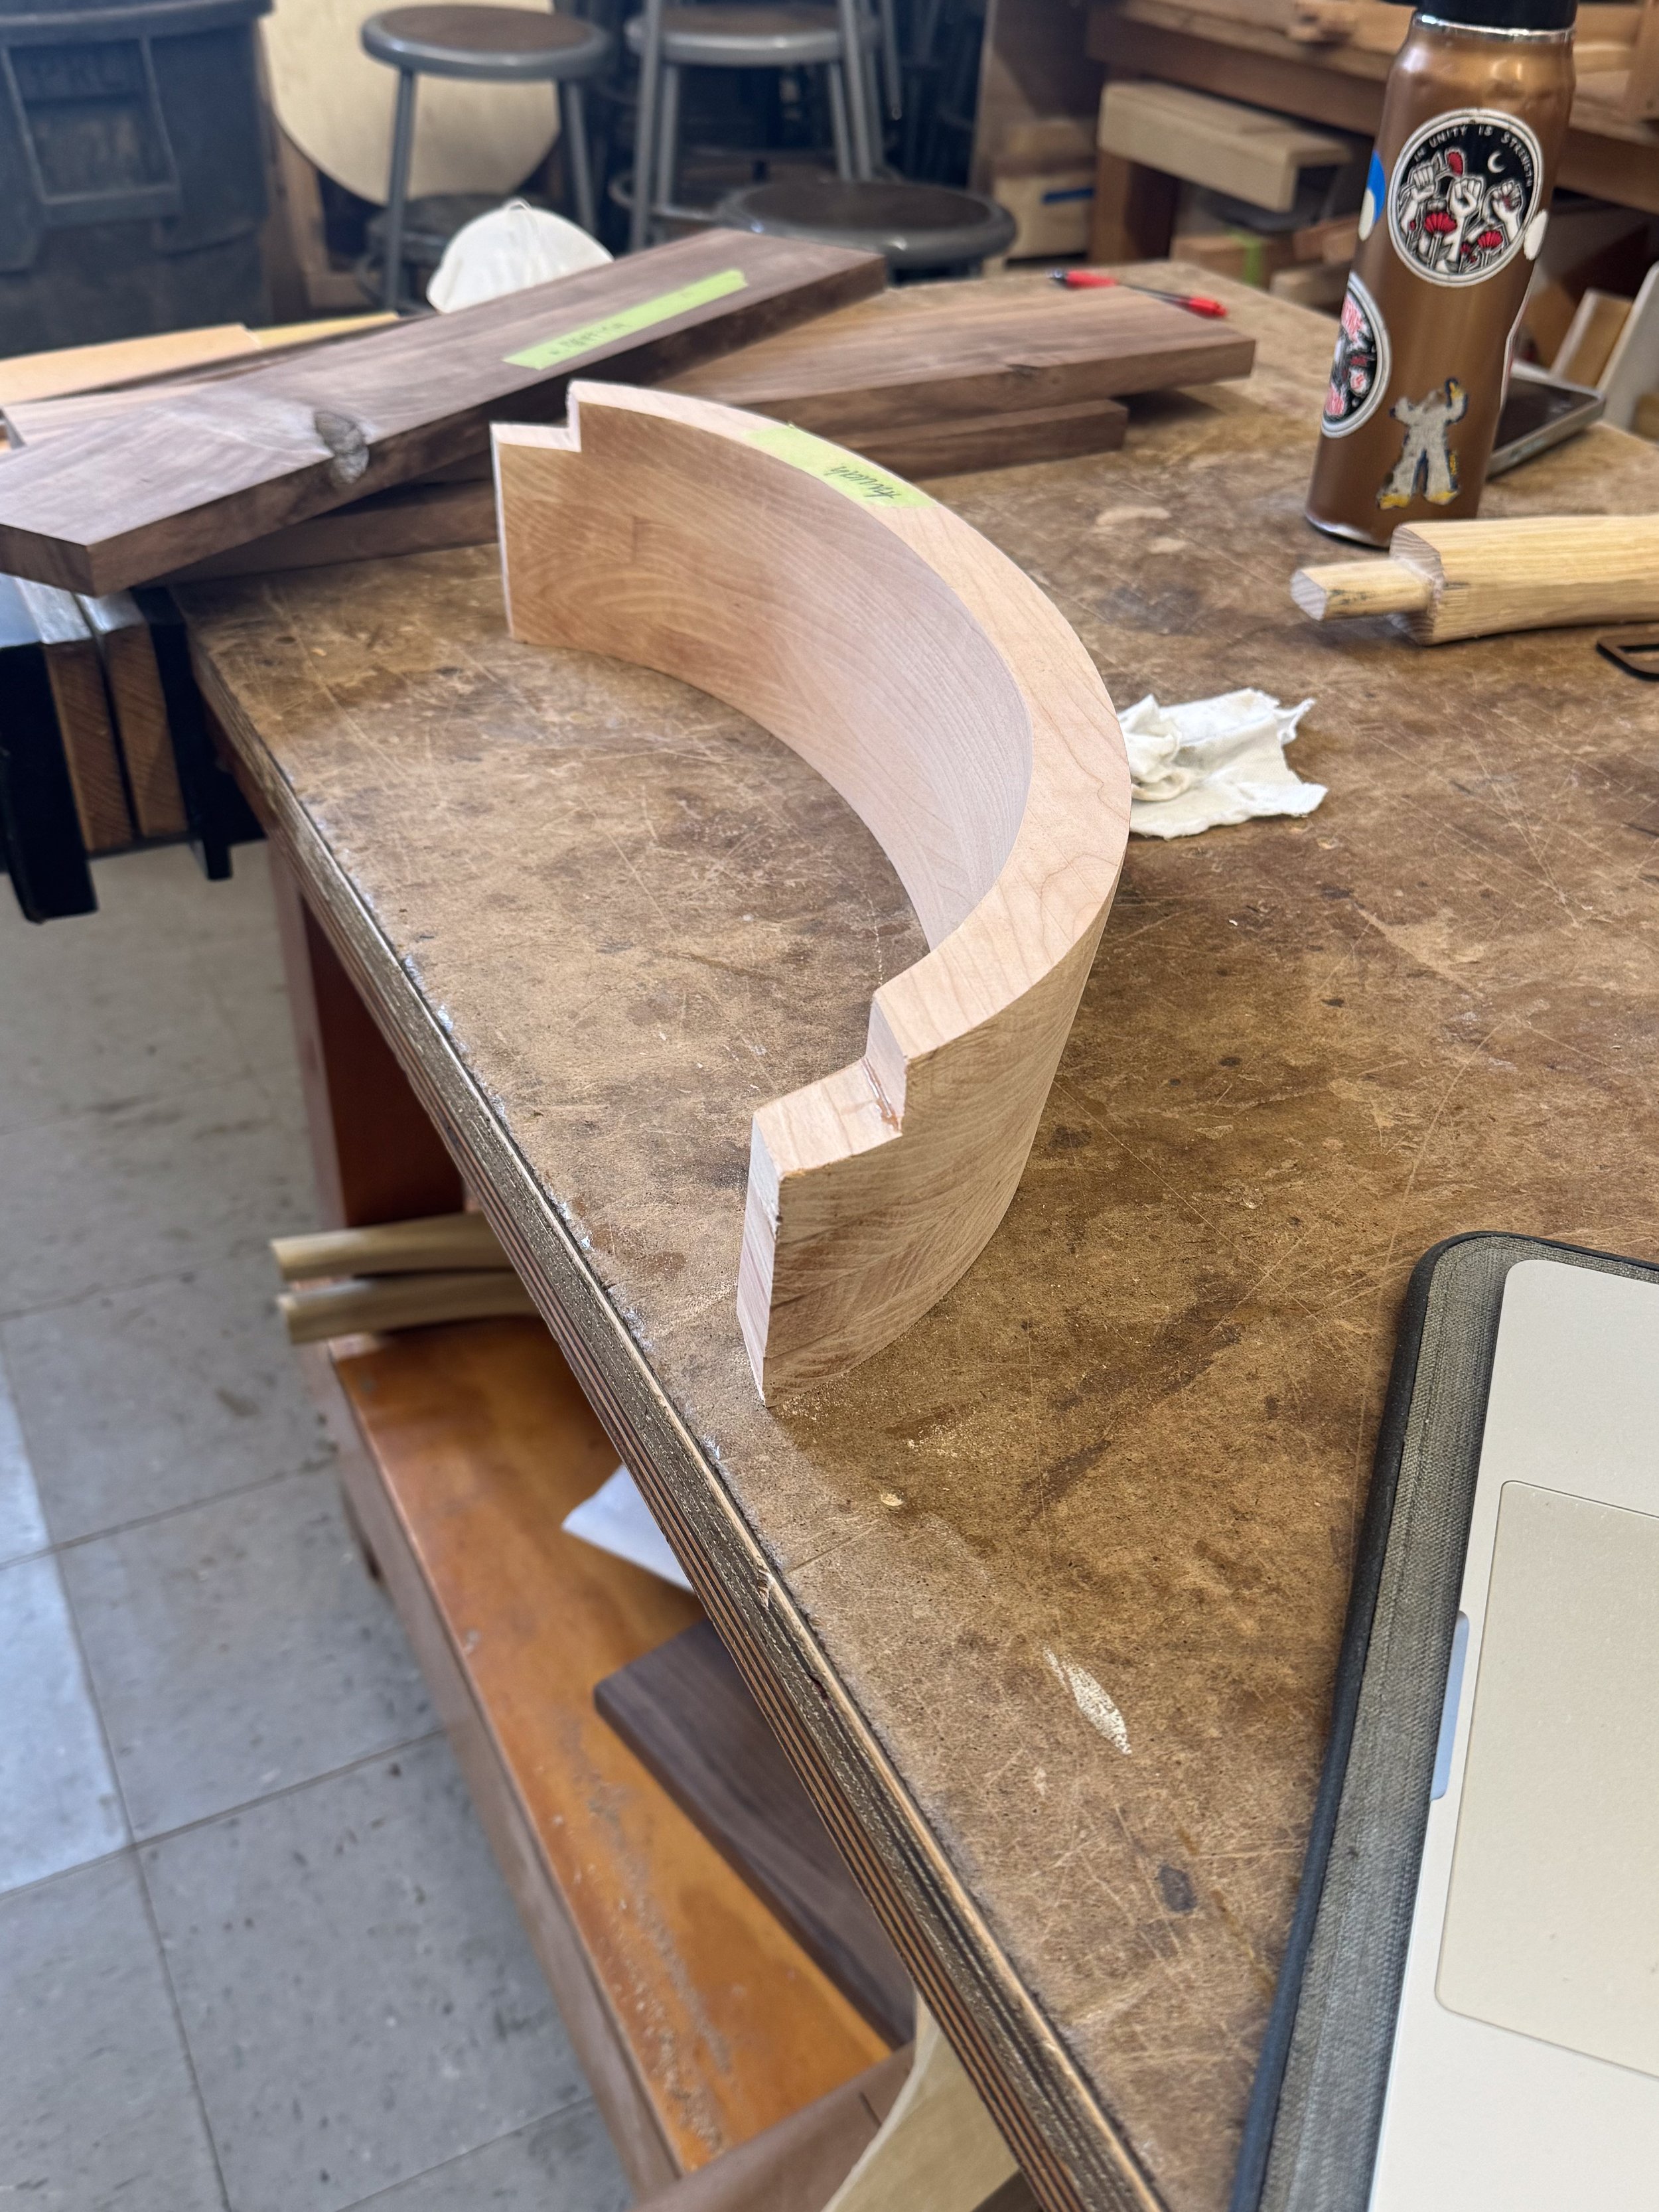
I used a combination of chisels, rasps, and spokeshaves obtain a smooth, tapered finish on the back-rest post-glue up.

Drilled a series of holes into the arm rests for the chair locking mechanism using a custom jig to maintain linearity.

I glued the backrest and arm rests using fluted dowels to strengthen the joint.
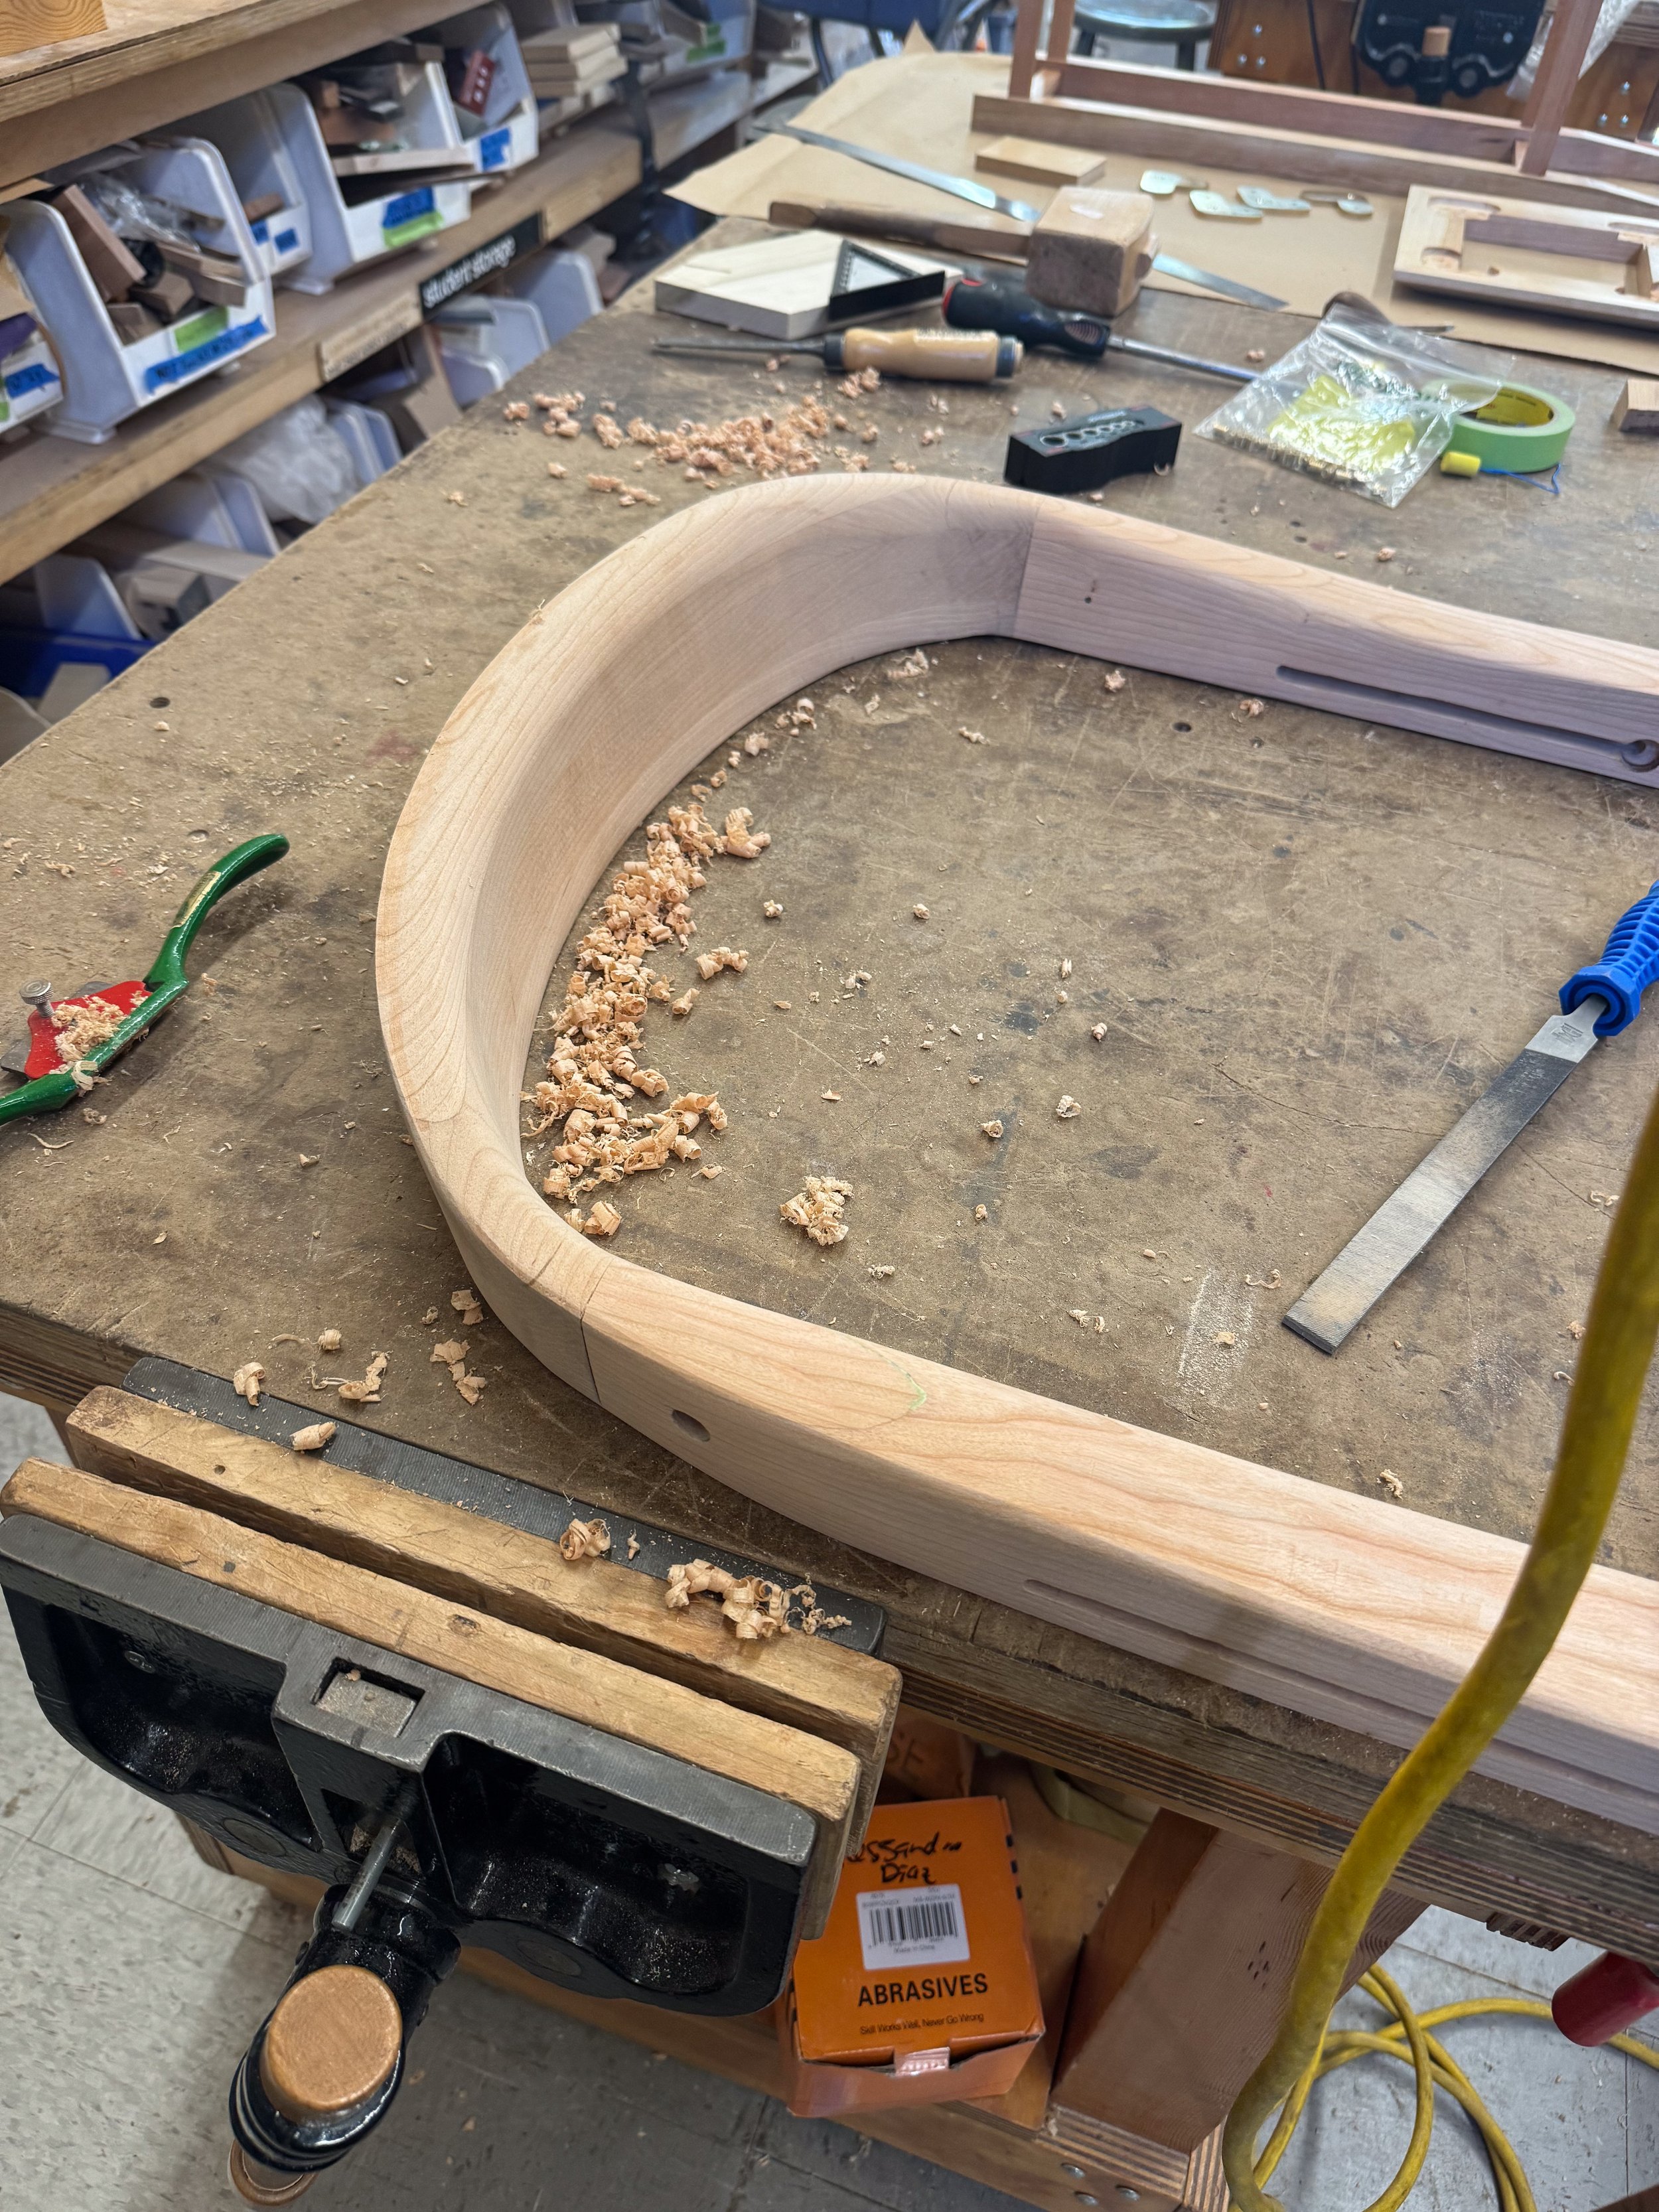
I used the carving tools to smooth the connection between the arms and the back rest.

I turned threaded stainless steel rods and end caps on the manual lathe for the chair locking mechanism.

I used the hand router to taper the legs, and cut out the necessary slots for the seat to be able to collapse.
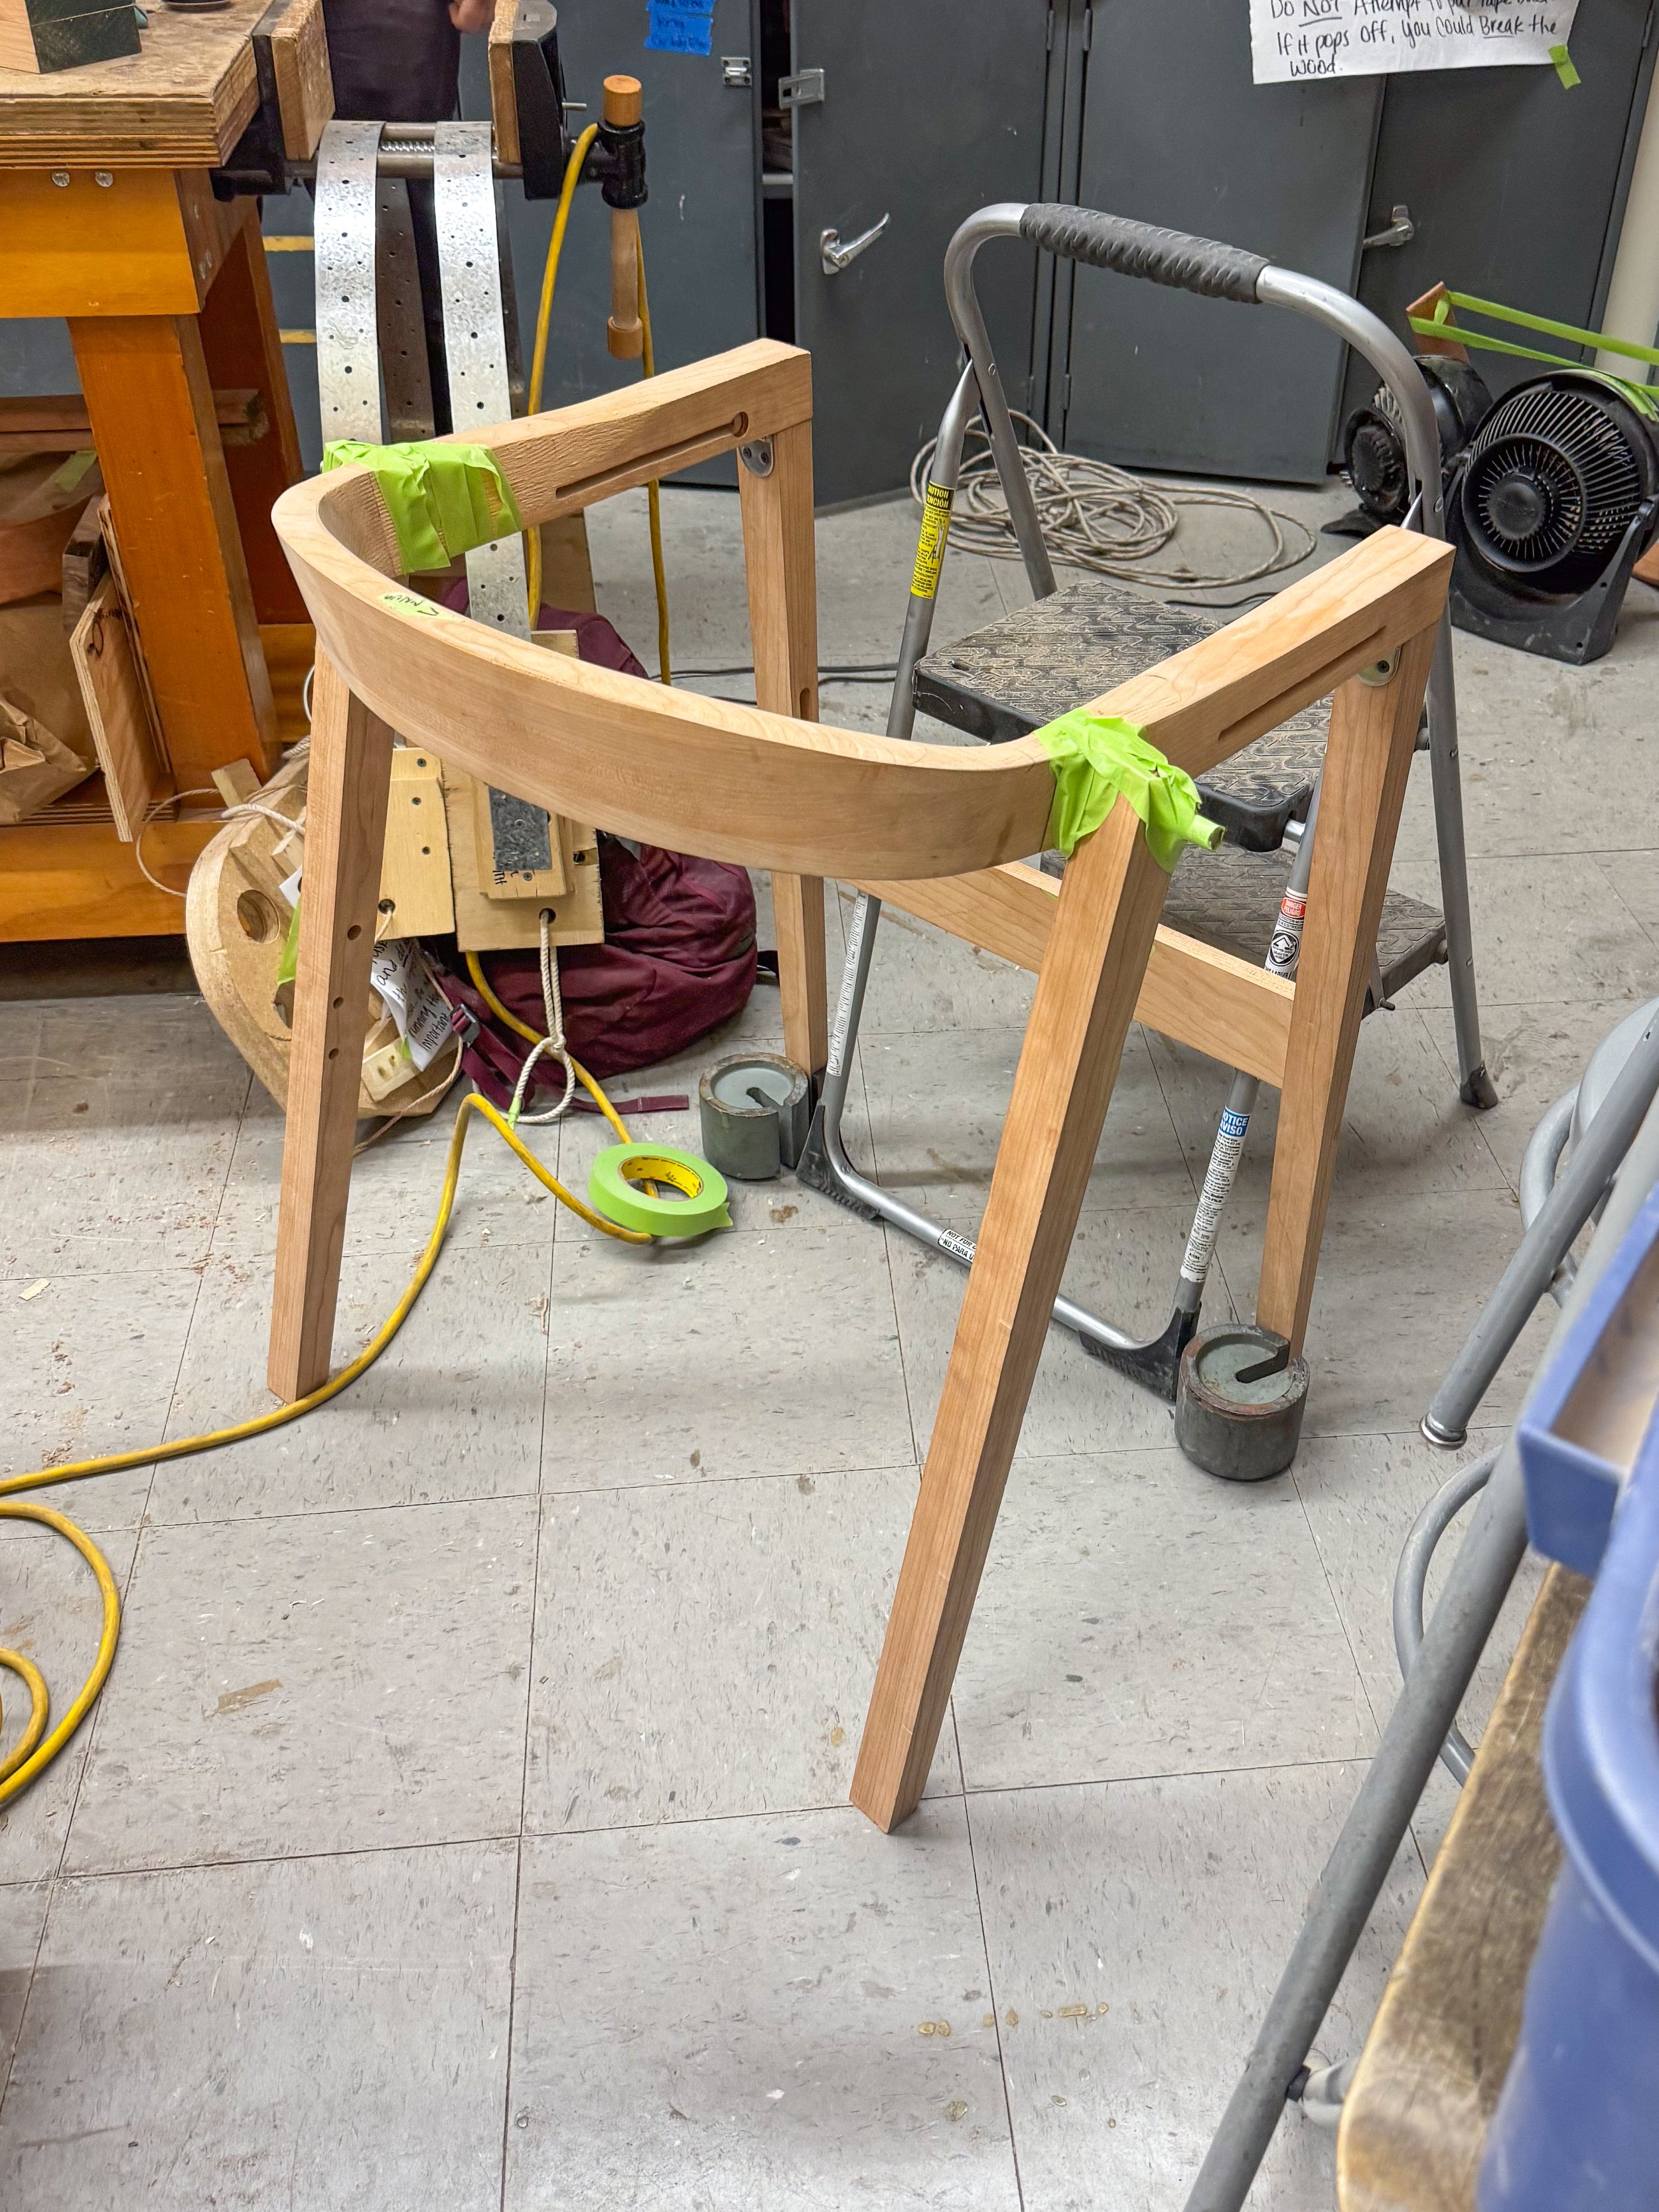
Chair assembly.

Finished chair components with orbital sander and linseed oil coat.

Assembled chair in its collapsed state.
Chair at Emeco House Gallery
